WPForms
WPForms a { text-decoration: none; } @media only screen and (max-width: 599px) { table.body .container { width: 95% !important; } .header { padding: 15px 15px

Leather bags are a luxury item that can last for years if you take good care of them. They are made of quality materials that are durable, stylish and unique. However, sometimes accidents happen and you may end up with a rip in the lining of your leather bag. This can be frustrating and annoying, especially if you have a handmade or designer bag that you love. But don’t worry, there is a way to fix it without having to buy a new bag or pay for a professional repair service. In this blog post, we will show you how to repair a rip in the lining of your leather bag in a few simple steps.
What You Will Need:
Step 1: Turn Your Bag Inside Out – The first thing you need to do is to turn your bag inside out so that you can access the lining. Be careful not to damage the leather or any other parts of your bag while doing this. You may need to unzip or unbutton some compartments to make it easier.
Step 2: Cut Off Any Loose Threads – Next, you need to cut off any loose threads that are sticking out from the rip. This will prevent them from getting tangled or making the rip worse. Use a pair of scissors and cut as close to the rip as possible.
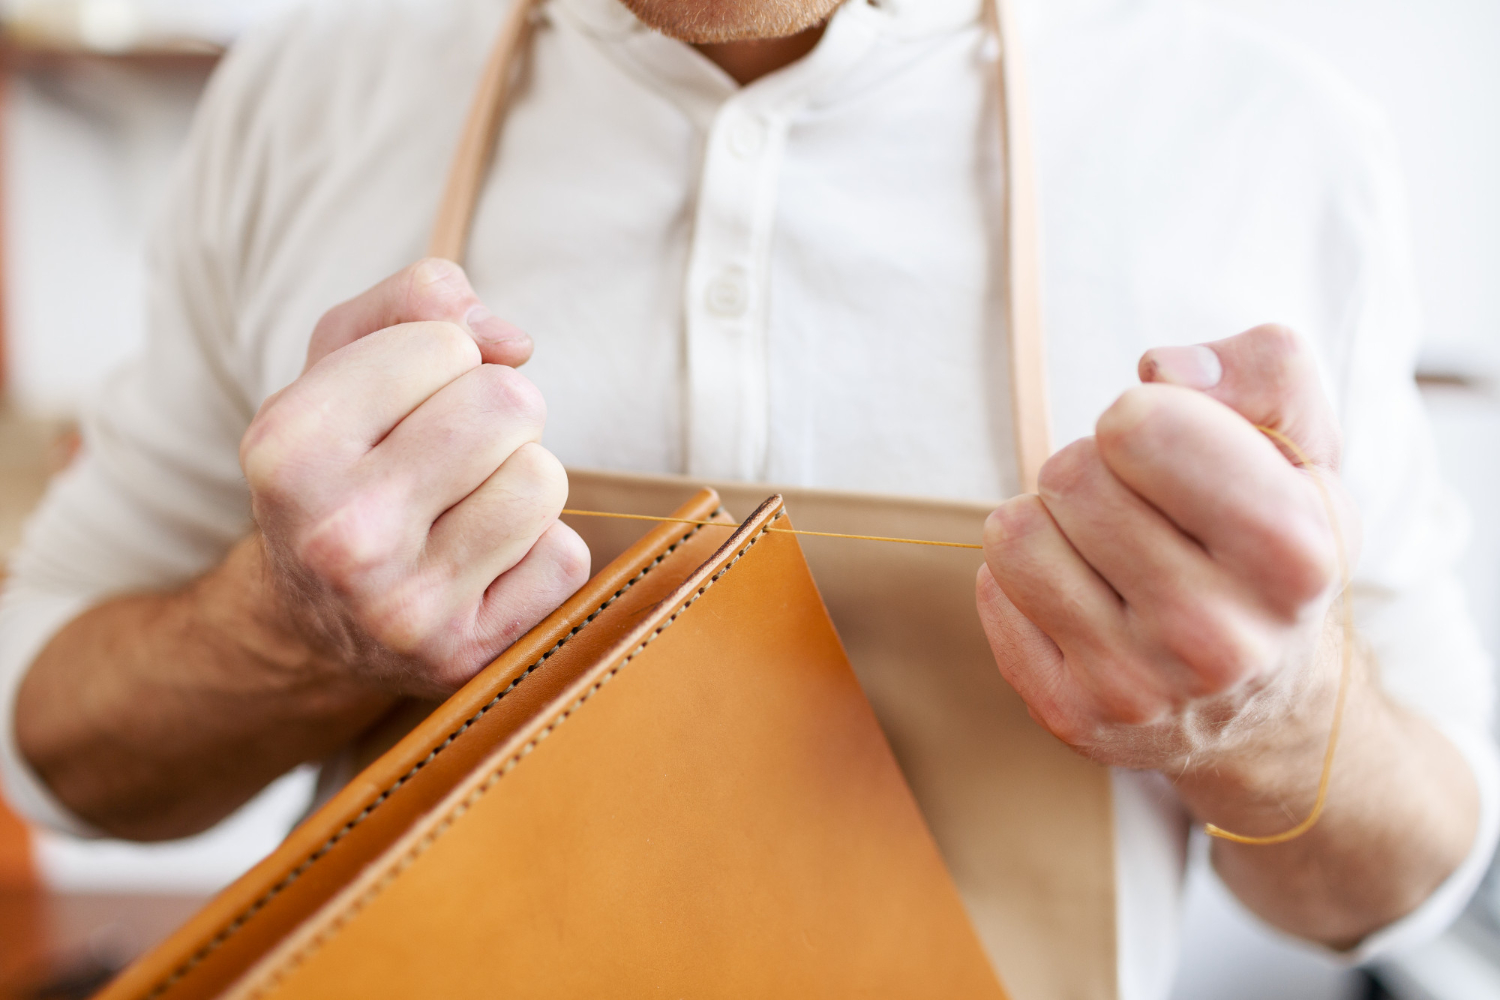
Step 3: Sew the Rip Together Now, you need to sew the rip together using a needle and thread. Start from one end of the rip and make small stitches along the edge of the rip until you reach the other end. Make sure to keep the stitches tight and even. You can use a backstitch or a whipstitch for this step. If you don’t know how to do these stitches, you can find tutorials online or watch this video: click here
Step 4: Reinforce the Repair with Fabric or Patch – The last step is to reinforce the repair with a piece of fabric or an iron-on patch. This will make the repair stronger and more durable. You can use any fabric that matches your lining or choose something that contrasts for a fun look. Cut the fabric into a shape that covers the rip and some extra space around it. Then, either glue it over the rip using fabric glue or iron it over the rip using an iron-on patch. Make sure to follow the instructions on the package of your glue or patch.
Step 5: Turn Your Bag Right Side Out – Finally, turn your bag right side out and admire your work. You have successfully repaired a rip in the lining of your leather bag and saved yourself some money and hassle. Now you can enjoy your bag again and show off your sustainable and fashionable choice.
WPForms a { text-decoration: none; } @media only screen and (max-width: 599px) { table.body .container { width: 95% !important; } .header { padding: 15px 15px
Cart Abandonment Recovery Weekly Report * { box-sizing: border-box; } body { margin: 0; padding: 0; } a[x-apple-data-detectors] { color: inherit !important; text-decoration: inherit !important;
caluary @media screen and (max-width: 600px){#header_wrapper{padding: 27px 36px !important; font-size: 24px;}#body_content table > tbody > tr > td{padding: 10px !important;}#body_content_inner{font-size: 10px !important;}} New Order: #8069
Don’t miss our future updates! Get Subscribed Today!
